 Loopy Panda
How to Stuff Amigurumi
Stuff amigurumi with polyester fiberfill, pulled into small fluffy pieces. Start stuffing when the pattern says, usually a few decrease rounds before the end while the opening is still wide. Stuff firmly so the piece holds its shape, but stop before the stitches stretch and white stuffing shows between them. Add the last bits just before closing.
What you need
- Polyester fiberfill (toy stuffing)
- A blunt tool to push stuffing: the back end of your hook, a chopstick or a stuffing stick
- Optional: plastic pellets in a small bag, for weight
Step by step
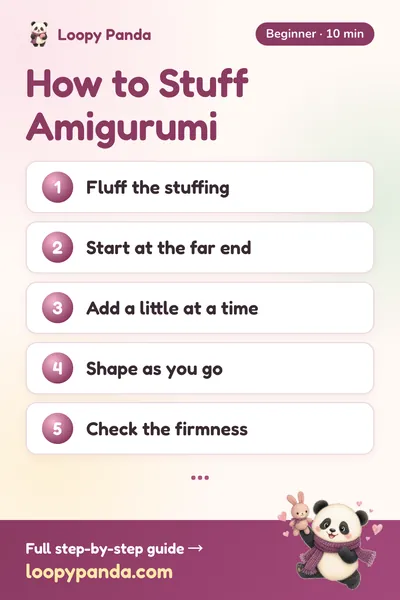
- Fluff the stuffingPull the fiberfill apart into small, loose pieces about the size of a walnut. Big compressed clumps make lumps.
- Start at the far endPush the first pieces all the way to the bottom or the tip of the piece, then work back towards the opening.
- Add a little at a timeAdd small pieces and press each one in with the tool. Many small pieces give a smoother surface than a few large ones.
- Shape as you goSqueeze and roll the piece between your hands. Push stuffing into any dents and thin places.
- Check the firmnessSqueeze gently. It should spring back and keep its shape. If you can see stuffing through the stitches, take a little out.
- Top up before closingCrochet the next decrease rounds, then add the last bits through the small opening just before you close it. The last few rounds of an amigurumi often end up under-stuffed.
- Close and smoothClose the opening, then roll the piece between your palms to even out the stuffing.
How firm should amigurumi be?
| Part | Firmness | Why |
|---|---|---|
| Head | Firm | Holds a round shape and supports the face |
| Body | Firm | Needs to stand or sit and support the head |
| Neck (where head meets body) | Very firm | Stops the head from flopping |
| Arms and legs | Light to medium, or firm at the bottom only | Many patterns stuff only the lower half so limbs can bend |
| Ears, tails, flat parts | None | Usually left flat |
Always follow the pattern first. If it says “stuff lightly”, the designer wanted a soft, floppy part.
What to stuff amigurumi with
- Polyester fiberfill. The standard choice. It is light, washable and springs back. In Chinese it is usually called PP棉 or 填充棉.
- Plastic pellets. Some makers put a few in the base so the toy sits upright. Put them in a small fabric pouch or a knotted piece of stocking so they cannot escape. Loose pellets are a choking hazard, so leave them out of toys for young children.
- Yarn scraps. They work for very small pieces, but they are heavy and can look lumpy. Use the same colour as the yarn so it does not show.
Common mistakes
- Overstuffing. The stitches stretch and white stuffing shows. The fix is to take some out, or to use a smaller hook next time so the fabric is denser.
- Understuffing. The piece wrinkles or sags, especially at the neck. Add more before the opening closes.
- Lumps. Caused by large clumps. Pull the stuffing into smaller pieces and roll the finished piece between your hands.
- Stuffing too late. If the opening is too small, you cannot shape the piece. Start when the pattern says, usually while there are still 12–18 stitches in the round.
Frequently asked questions
How much stuffing do I need for amigurumi?
It depends on the size. A small palm-sized toy uses only a handful. Buy a bag of fiberfill; it lasts for many small toys.
When should I start stuffing amigurumi?
When the pattern says. Usually it is partway through the decrease rounds, while the opening is still wide enough for your fingers or a tool.
Why can I see stuffing through my amigurumi?
Either the piece is overstuffed, stretching the stitches, or the fabric is too loose. Take a little stuffing out, and try a smaller hook next time. See fixing gaps and holes.
Can I use cotton balls to stuff amigurumi?
They are not a good choice. Cotton balls pack down and go lumpy, and they do not dry well after washing. Polyester fiberfill keeps its shape.
What does 塞棉 mean in a Chinese pattern?
塞棉 means “stuff (with fiberfill)”. When it appears after a round, stuff the piece at that point before continuing.
Save it for later
Pin this guide to your Pinterest board so it's there when you pick up your hook.
Save to Pinterest
Tell me when new free patterns are out
We'll send you a short email when a new free pattern or tutorial goes up. No spam.
Thank you! You're on the list. We'll email you when a new free pattern is out.
Please enter a valid email address.
Please tick the box to agree to receive our emails.
Too many tries. Please wait a few minutes and try again.
Something went wrong. Please try again later.
New short videos every week, too, on YouTube