 Loopy Panda
How to Use Stitch Markers and Count Rounds
In amigurumi you crochet in a continuous spiral, so there is no join to show where a round ends. Put a stitch marker in the last stitch of the round. When you reach it again, the round is done: count your stitches, take the marker out, work the next stitch, and put the marker back in the new last stitch.
What you need
- Locking stitch markers (safety-pin style)
- Or a short piece of contrasting yarn
- Your crochet project
Step by step
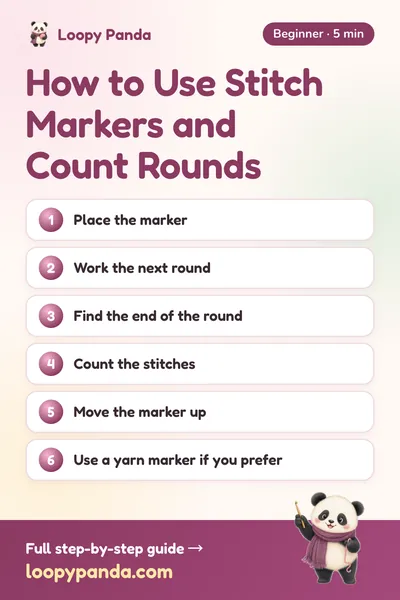
- Place the markerAfter round 1, put the marker through the top loops of the last stitch you made. Clip it closed so it cannot fall out.
- Work the next roundCrochet the next round as the pattern says. The marked stitch is the last stitch of the previous round.
- Find the end of the roundWhen you have worked the stitch directly above the marker, you have finished the round. That stitch is the last stitch of the new round.
- Count the stitchesBefore moving on, count the stitches in the round you just finished. Count the V shapes along the top edge, starting after the marker. Check the total against the number in the pattern.
- Move the marker upTake the marker out and put it in the last stitch you just made. Now start the next round.
- Use a yarn marker if you preferLay a strand of contrasting yarn between the last and first stitch of the round, front to back, and flip it each round. It builds a line up the piece and can be pulled out at the end.
How to count rounds you have already made
If you lose track of the round number, count the rounds on the fabric instead of guessing.
- Count the rings of V's. Each single crochet round forms one ring of V shapes. Count them in a straight line from the magic ring out to the hook. The magic ring round is round 1.
- Use the marker line. If you used a yarn marker, count the strands on it; each crossing is one round.
- Use the increase lines. In a circle that starts with 6 sc, each increase round adds 6 stitches. Divide the stitch count by 6 to find the round: 24 stitches means round 4, as long as you have not started the straight rounds yet.
- Mark every 5 or 10 rounds. For long straight sections, leave a second marker every 10 rounds so you only need to count from the last one.
Types of stitch markers
| Type | Good for | Notes |
|---|---|---|
| Locking (safety-pin style) | Amigurumi, all projects | Stays in and does not fall out; the most common choice |
| Split ring | Quick marking | Can slip out of tight single crochet |
| Closed ring | Knitting | Not useful for crochet: it cannot be removed from the stitch |
| Scrap yarn | Long spirals, no marker at hand | Free; easy to flip each round and pull out later |
| Safety pin or paper clip | Emergency use | Works, but can snag the yarn |
In Chinese, a stitch marker is 记号扣. Chinese patterns may also say 做记号 (place a marker).
Common mistakes
- Putting the marker in the wrong loop. Clip it through both top loops of the stitch, not around the whole edge or into the loop on your hook.
- Forgetting to move it. The marker ends up a round or more below your hook and your round count goes out of step with the pattern. Move it the moment you finish counting.
- Counting the loop on the hook. The loop on your hook is not a stitch. Count only the finished stitches along the top.
Chart symbols on this page
Frequently asked questions
Where do I put the stitch marker, first or last stitch?
Either works if you are consistent. Most amigurumi makers mark the last stitch of the round. Some mark the first; then the round ends in the stitch just before the marker.
Why does my stitch marker line slant?
That is normal in spiral amigurumi. Each round starts a little to one side of the last one. See why amigurumi leans.
How do I count stitches in a round?
Look at the top edge: each stitch is a V shape. Count the V's from the stitch after the marker to the marked stitch.
Do I need a stitch marker for amigurumi?
It is strongly recommended. Without a join, it is very easy to lose track of where each round begins.
What can I use instead of a stitch marker?
A piece of contrasting yarn, a safety pin, a bobby pin or a paper clip all work.
Save it for later
Pin this guide to your Pinterest board so it's there when you pick up your hook.
Save to Pinterest
Tell me when new free patterns are out
We'll send you a short email when a new free pattern or tutorial goes up. No spam.
Thank you! You're on the list. We'll email you when a new free pattern is out.
Please enter a valid email address.
Please tick the box to agree to receive our emails.
Too many tries. Please wait a few minutes and try again.
Something went wrong. Please try again later.
New short videos every week, too, on YouTube