 Loopy Panda
How to Sew Amigurumi Parts Together
Leave a long tail on each piece, pin it in place, then sew with a tapestry needle and the same yarn. For an open piece like an arm or ear, go through both loops of each edge stitch and then under one stitch of the body, all the way around. Pull each stitch snug, knot the yarn, and hide the tail inside the toy.
What you need
- Tapestry needle (blunt, large eye)
- Long pins (sewing pins or quilting pins)
- The yarn tail left on each piece, or matching yarn
- Scissors
- Stitch markers
Step by step
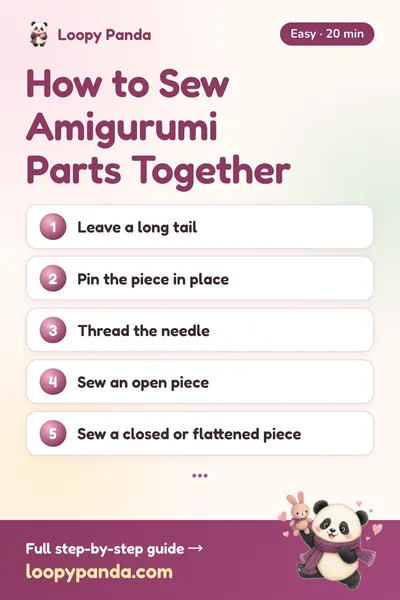
- Leave a long tailWhen you fasten off a piece that will be sewn on, leave a tail about 3 times the length of the edge you are sewing. It is easier than joining new yarn later.
- Pin the piece in placeHold the piece where the pattern says and pin it through the edge into the body. Look at the toy from the front, side and back before sewing. Pins are easy to move; stitches are not.
- Thread the needleThread the tail onto a tapestry needle. A blunt needle slides between the yarn plies instead of splitting them.
- Sew an open pieceFor an open edge (arm, ear, tail), insert the needle through both loops of the next edge stitch, then under one stitch of the body right behind it. Pull snug. Repeat around the whole edge.
- Sew a closed or flattened pieceFor a piece that was closed or flattened (a stuffed leg, a flat ear), sew through a stitch on the piece, then a stitch on the body, taking small stitches so the seam hides between the crochet stitches.
- Add stuffing before the gap closesFor stuffed parts such as a head or leg, sew most of the way round, add a little more stuffing to the neck or joint so it does not flop, then finish the seam.
- Secure and hide the tailTie a small knot close to the surface. Then insert the needle near the knot, bring it out on the far side of the toy, pull gently so the knot slips inside, and trim the tail flush.
Attaching the head to the body
The head is the heaviest part, so it needs the strongest seam. Many patterns finish the body with an open last round and a long tail for this.
- Pin the head so the body's last round sits over the round the pattern gives on the head. Keep the head's back seam (where you moved the marker) at the back.
- Sew through both loops of each stitch on the body's last round, then under one stitch on the head. Keep every stitch the same size.
- Stop about 3/4 of the way round, push extra stuffing into the neck, then close the seam.
- If the head still wobbles, go around the neck a second time.
Which stitch to use
| Stitch | Best for | How it looks |
|---|---|---|
| Whip stitch | Open pieces (ears, arms, tails) sewn onto a body | Small visible stitches along the edge; neat when pulled snug and even |
| Mattress stitch | Joining two stuffed pieces edge to edge, such as head to body | Nearly invisible; the seam pulls in between the stitches |
| Back stitch or straight stitches | Flat details such as a mouth, eyebrows or cheeks | A solid line or small dashes on the surface |
Common mistakes
- Crooked parts. Sewing without pinning first. Pin both sides (both ears, both arms) before sewing either one, and compare them.
- Yarn tail too short. If you run out, knot the short tail inside, join a new strand, and carry on.
- Seam too loose. Loose stitches let the part flop and show gaps. Pull each stitch snug, but not so hard that the fabric puckers.
- Wrong needle. A sharp sewing needle splits the yarn and snags. Use a blunt tapestry needle.
Frequently asked questions
What stitch do you use to sew amigurumi together?
Whip stitch is the most common for open pieces like arms and ears. For joining two stuffed pieces, such as a head to a body, a mattress-style stitch gives a nearly invisible seam.
How long should the yarn tail be for sewing?
About 3 times the length of the edge you need to sew. For a small ear, around 20–30 cm (8–12 in) is usually plenty.
How do I stop the head from flopping?
Stuff the neck firmly before closing the seam, and make sure the seam goes around the full circle. A second pass around the neck adds strength.
Can I glue amigurumi parts instead of sewing?
Sewing is stronger and holds up to play and washing. Glue can loosen and is not a good choice for toys that will be handled a lot.
What does 缝合 mean in a pattern?
缝合 means “sew together”. 留长线 (leave a long tail) usually comes right before it.
Save it for later
Pin this guide to your Pinterest board so it's there when you pick up your hook.
Save to Pinterest
Tell me when new free patterns are out
We'll send you a short email when a new free pattern or tutorial goes up. No spam.
Thank you! You're on the list. We'll email you when a new free pattern is out.
Please enter a valid email address.
Please tick the box to agree to receive our emails.
Too many tries. Please wait a few minutes and try again.
Something went wrong. Please try again later.
New short videos every week, too, on YouTube