 Loopy Panda
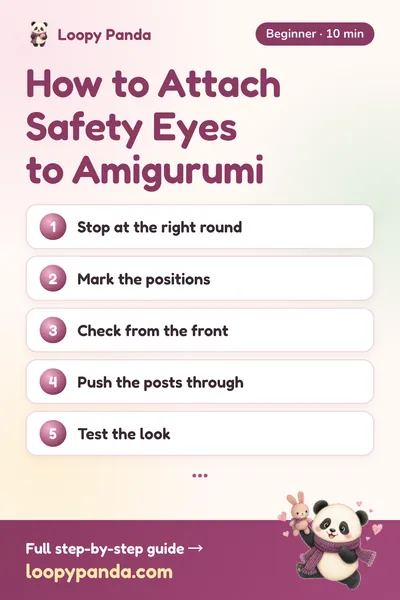
How to Attach Safety Eyes to Amigurumi
Insert safety eyes before you stuff and close the head. Push the post through a gap between two stitches on the round the pattern gives, check both eyes from the front, then press the washer onto the post from the inside until it is tight. Once locked, safety eyes are very hard to remove, so check placement first. For toys for children under 3, embroider the eyes instead.
What you need
- Safety eyes with washers (backs), in the size the pattern gives
- The crocheted head, not yet stuffed or closed
- Stitch markers or pins to mark the positions
- Optional: a thimble or a firm surface to press against
Step by step
- Stop at the right roundCrochet the head until the pattern says to insert the eyes, usually a few rounds after the widest part and before the decreases make the opening small. You need your hand inside to fit the washers.
- Mark the positionsPut a stitch marker or pin at each eye position. Patterns say something like “between Rnd 9 and 10, 7 sts apart”. Count the stitches between the two positions carefully.
- Check from the frontTurn the head so the stitch-marker line (the back seam) is at the back. Look straight at the face: both eyes should be on the same round and the same distance from the centre.
- Push the posts throughPush each eye post through a gap between two stitches, from the outside in. Do not push it through the middle of a stitch; it splits the yarn and sits crooked.
- Test the lookBefore you lock anything, look again. Moving an eye by one stitch changes the face a lot. Take a photo if it helps you compare.
- Lock the washersFrom the inside, push the washer onto each post until it sits flat and tight against the fabric. Press firmly; the post should not wobble or pull back out.
- Stuff and continueNow stuff the head and carry on with the decrease rounds as the pattern says.
What size safety eyes to use
Safety eyes are sold by the diameter of the eye in mm. Use the size in the pattern. If you change the yarn weight, the toy changes size and the eyes should change with it.
| Eye size | Where it is often used |
|---|---|
| 4–6 mm | Very small toys, small hooks and fine yarn |
| 8–10 mm | Small to medium toys in DK or sport weight |
| 12–15 mm | Larger toys, often in worsted or bulky yarn |
| 16 mm and up | Big, plush or chunky toys |
These ranges are rough guides. The best check is to hold loose eyes against the head before you lock them.
Safety note: toys for babies and young children
Safety eyes are small parts. Even when fitted well, they can come loose if the fabric stretches, and they are a choking hazard. For a toy meant for a baby or a child under 3, we recommend embroidering the eyes with yarn or thread instead, and not using any small hard parts.
If you plan to sell toys, look up the toy safety rules where you live, because requirements vary by country.
- Embroidered eyes. Use black yarn or embroidery thread and a tapestry needle. Work several straight stitches over 1–2 crochet stitches for a small oval eye.
- Felt eyes. Cut small circles of felt and sew them on firmly all the way around, not with glue alone.
Common mistakes
- Eyes on different rounds. In a spiral the rounds shift, so count along the same round from the marker, not by eye.
- Locking too early. The washers are designed not to come off. Check placement from the front every time before pressing.
- Head already closed. If the opening is too small to reach inside, you cannot fit the washers. Insert the eyes before the decrease rounds.
- Gaps around the post. If you can see a hole around the eye, the fabric is too loose. A smaller hook helps; see fixing holes in amigurumi.
Frequently asked questions
How do I attach safety eyes so they don't come loose?
Push the post through a gap between two stitches, not through the middle of a stitch, then press the washer onto the post from the inside until it sits flat and tight against the fabric. Use the washer that came with the eyes. Fabric that is crocheted tightly holds the post best; if there is a gap around it, use a smaller hook. Fit the eyes before you stuff and close the head. For toys for babies and young children, embroider the eyes instead.
What tools do I need to attach safety eyes?
Only the safety eyes with their washers, stitch markers or pins to mark the positions, and a firm surface or a thimble to press against. A special safety-eye tool can help with hard washers, but you do not need one.
When do you put safety eyes in amigurumi?
Before stuffing and before the head is closed, usually when the pattern tells you to, a few rounds before the decreases start. You need to reach inside to fit the washer.
Can you remove safety eyes once they are locked?
Not easily. They are designed to stay on. That is why you should check the position from the front before pressing the washer on.
Are safety eyes safe for babies?
Safety eyes are small parts and can be a choking hazard if they come loose. For children under 3, embroider the eyes instead.
How far apart should safety eyes be?
Use the distance in the pattern, usually given as a number of stitches between the eyes. Moving the eyes closer or wider changes the expression a lot, so try a few positions before locking.
What is 安全眼?
安全眼 is Chinese for safety eyes. Chinese patterns often give the size and position like 8mm安全眼,第9-10圈之间,间隔6针 (8 mm eyes between rounds 9 and 10, 6 stitches apart).
Save it for later
Pin this guide to your Pinterest board so it's there when you pick up your hook.
Save to Pinterest
Tell me when new free patterns are out
We'll send you a short email when a new free pattern or tutorial goes up. No spam.
Thank you! You're on the list. We'll email you when a new free pattern is out.
Please enter a valid email address.
Please tick the box to agree to receive our emails.
Too many tries. Please wait a few minutes and try again.
Something went wrong. Please try again later.
New short videos every week, too, on YouTube