 Loopy Panda
How to Change Colours in Amigurumi

To change colour in amigurumi, work the last stitch in the old colour until 2 loops remain on the hook. Then drop the old colour, yarn over with the new colour, and pull it through both loops. The loop on your hook is now the new colour, so the next stitch is fully the new colour with no half-and-half stitch.
What you need
- Two colours of the same yarn weight
- Crochet hook
- Stitch marker
- Tapestry needle for the tails
Step by step
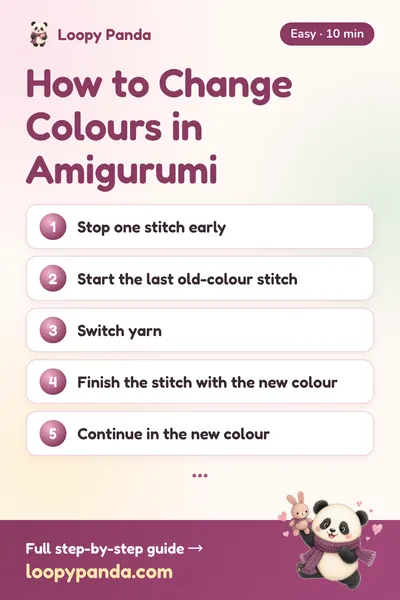
- Stop one stitch earlyWork up to the last stitch that should be in the old colour. For a colour change at the start of a round, that is the last stitch of the previous round.
- Start the last old-colour stitchInsert the hook, yarn over with the old colour, and pull up a loop. You have 2 loops on the hook.
- Switch yarnDrop the old colour. Lay the new colour over the hook, leaving a tail of about 10 cm (4 in) at the back.
- Finish the stitch with the new colourYarn over with the new colour and pull through both loops. The stitch below looks old colour; the loop on the hook is new colour.
- Continue in the new colourWork the next stitches in the new colour. Hold both tails at the back for the first stitch or two so they do not loosen.
- Deal with the old colourIf you will use the old colour again within a few rounds, leave it attached and carry it up on the inside. If not, cut it, leaving a tail of about 10 cm (4 in).
- Secure the tailsSome makers tie the two tails in a loose square knot on the inside; others just weave them in. Either way, keep the tails on the inside (wrong side) of the piece, where the stuffing will hide them.
How colour changes appear in patterns
| Pattern style | What you will see | Meaning |
|---|---|---|
| US written | Change to color B, switch to CC | Change on the last yarn over of the stitch before; MC = main color, CC = contrasting color |
| UK written | Change to colour B | Same technique; only the spelling differs |
| Chinese written | 换色, 换白色线 | Change colour (here: to white) |
| Chart | Stitches drawn or shaded in the new colour | Change so that the first stitch drawn in the new colour is fully that colour |
The jog in spiral rounds
Amigurumi are usually worked in a continuous spiral, so a round is really one step of a rising line. When you change colour, the first and last stitches of the stripe do not line up, and you see a small step called the jog. It is normal, not a mistake.
- Plan the colour change so the jog sits at the back or on the underside of the piece.
- Pulling the old-colour tail snug on the inside makes the step a little less visible.
- For very visible stripes, some patterns work those rounds as joined rounds instead of a spiral. Follow the pattern if it says to join.
Common mistakes
- Half-and-half stitch. If you change colour at the start of the new-colour stitch instead of at the end of the old one, the first new stitch shows a bit of the old colour.
- Tails on the outside. Keep every tail on the wrong side. In amigurumi worked right side out, that is the inside of the piece.
- Loose first stitch. Hold the tails firmly while you make the first 2 new-colour stitches.
- Dark colour showing through light. When a dark yarn is carried inside a light-coloured section, it can show through. Cut and rejoin instead of carrying.
Chart symbols on this page
Frequently asked questions
Where do you change colour in crochet?
On the last yarn over of the stitch before the new colour should start. That way the next stitch is fully the new colour.
What does 换色 mean in a Chinese pattern?
换色 means change colour. It is often followed by the new colour, such as 换粉色 (change to pink).
Is a colour change different in UK patterns?
No. The technique is the same; UK patterns spell it “colour” and call single crochet “double crochet”.
Should I cut the yarn every time I change colour?
No. For stripes a few rounds apart, carry the unused colour up on the inside. Cut it when it will not be used again soon or would show through.
How do I hide the jog in amigurumi stripes?
Put the colour change at the back of the piece, pull the tails snug, or work those rounds as joined rounds if the pattern allows.
Save it for later
Pin this guide to your Pinterest board so it's there when you pick up your hook.
Save to Pinterest
Tell me when new free patterns are out
We'll send you a short email when a new free pattern or tutorial goes up. No spam.
Thank you! You're on the list. We'll email you when a new free pattern is out.
Please enter a valid email address.
Please tick the box to agree to receive our emails.
Too many tries. Please wait a few minutes and try again.
Something went wrong. Please try again later.
New short videos every week, too, on YouTube